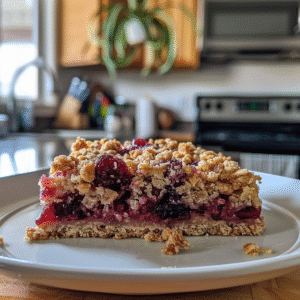
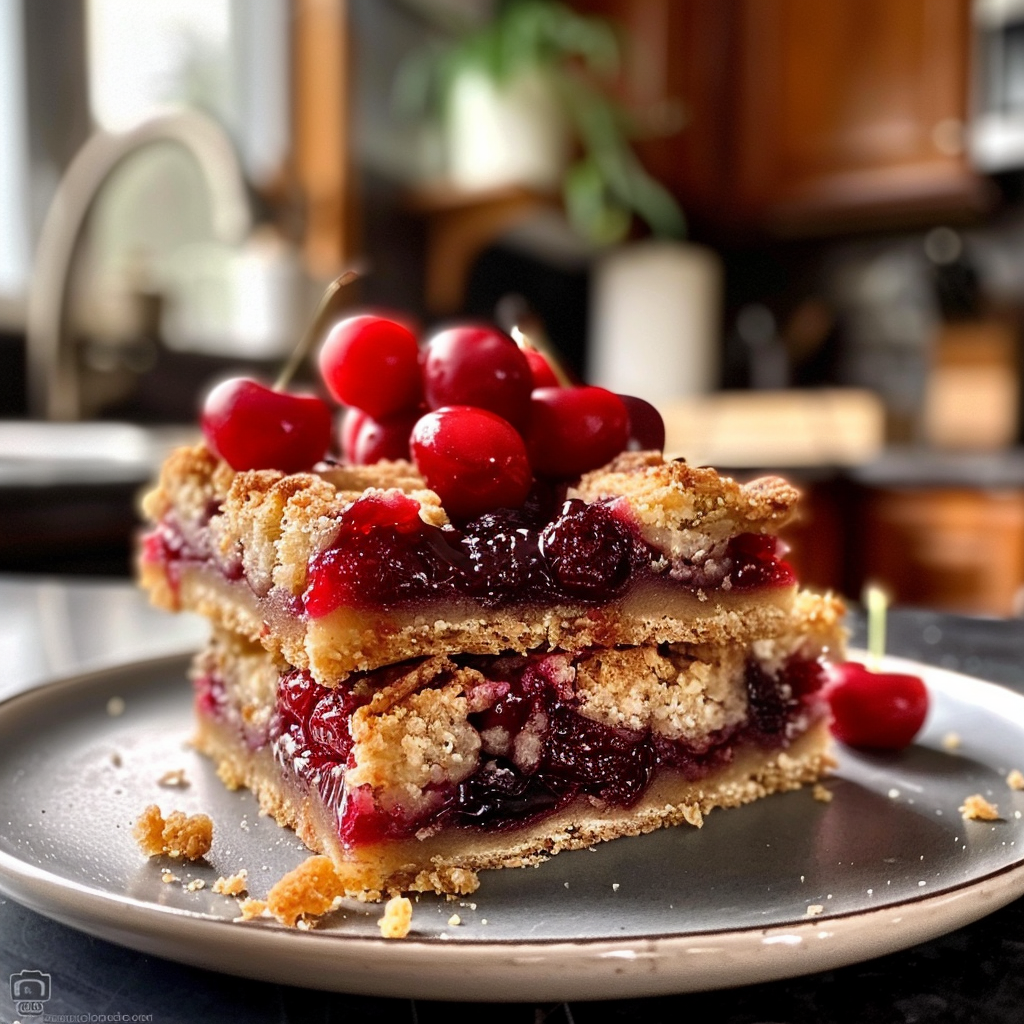
The sweet aroma of Christmas Cherry Bars fills the air, drawing you closer with every passing moment. Bursting with vibrant red cherries and complemented by a buttery crust, these bars are the perfect treat to brighten up your holiday gatherings. fun baking with kids
Imagine biting into a soft, chewy square that dances on your taste buds. It’s like a warm hug from Grandma during those chilly winter nights. These bars are not just desserts; they are a delightful experience meant for sharing, laughter, and memories.
[info_box title=”Why You’ll Love This Recipe”] These Christmas Cherry Bars are incredibly easy to whip up and require minimal ingredients. Their sweet-tart flavor profile offers a delicious contrast that keeps everyone coming back for more. Visually stunning with their bright red hue, they instantly elevate any festive gathering. Perfect for dessert tables or as a snack with coffee, they’re versatile enough to enjoy anytime. [/info_box]
I remember the first time I made Christmas Cherry Bars; my friends devoured them in minutes at our holiday party, leaving only crumbs behind. For more inspiration, check out this crispy ham cheese puffs recipe.
Essential Ingredients
Here’s what you’ll need to make this delicious dish:
-
Fresh Cherries: Choose ripe, juicy cherries for the best flavor; frozen ones work too if fresh aren’t available.
-
Butter: Use unsalted butter for better control of sweetness; it adds rich flavor to the crust.
-
Granulated Sugar: This sweetens up the mix; adjust according to your cherry tartness.
-
All-Purpose Flour: Provides structure; no need to sift unless you’re feeling fancy.
-
Eggs: They bind everything together; use large eggs for consistency.
-
Baking Powder: A must for lift; don’t skip this ingredient unless you’re going flat!
-
Vanilla Extract: Adds depth and warmth to the overall flavor; always go for pure vanilla when possible.
-
Powdered Sugar (for dusting): Optional but highly recommended; it adds an elegant finish.
The full ingredients list, including measurements, is provided in the recipe card directly below. For more inspiration, check out this loaded meatloaf casserole recipe recipe.
Let’s Make it together
Prepare Your Oven and Pan: Preheat your oven to 350°F (175°C). Grease a 9×13 inch baking pan with butter or line it with parchment paper for easy removal.
Create the Crust Mixture: In a mixing bowl, beat together softened butter and granulated sugar until creamy. The mixture should be light and fluffy, which usually takes about three minutes.
Add Eggs and Vanilla: Mix in the eggs one at a time along with vanilla extract until well combined. The batter will look smooth and glossy—this is where the magic begins!
Combine Dry Ingredients: In another bowl, whisk together flour and baking powder until evenly mixed. Gradually add this dry mix into your wet ingredients while stirring gently.
Add in the Cherries: Fold in your cherries carefully so they don’t break apart too much. You want chunks of fruit throughout each bar for that burst of flavor!
Bake Until Golden Brown: Pour the batter into your prepared pan and smooth out evenly. Bake for 30-35 minutes, or until golden brown on top—your kitchen will smell heavenly!
Now that you know how to create these delightful Christmas Cherry Bars, it’s time to gather your loved ones around for some festive fun! Enjoy every bite as you create new memories during this magical season! delicious Christmas treats. fun festive snacks peppermint cookies for the holidays.
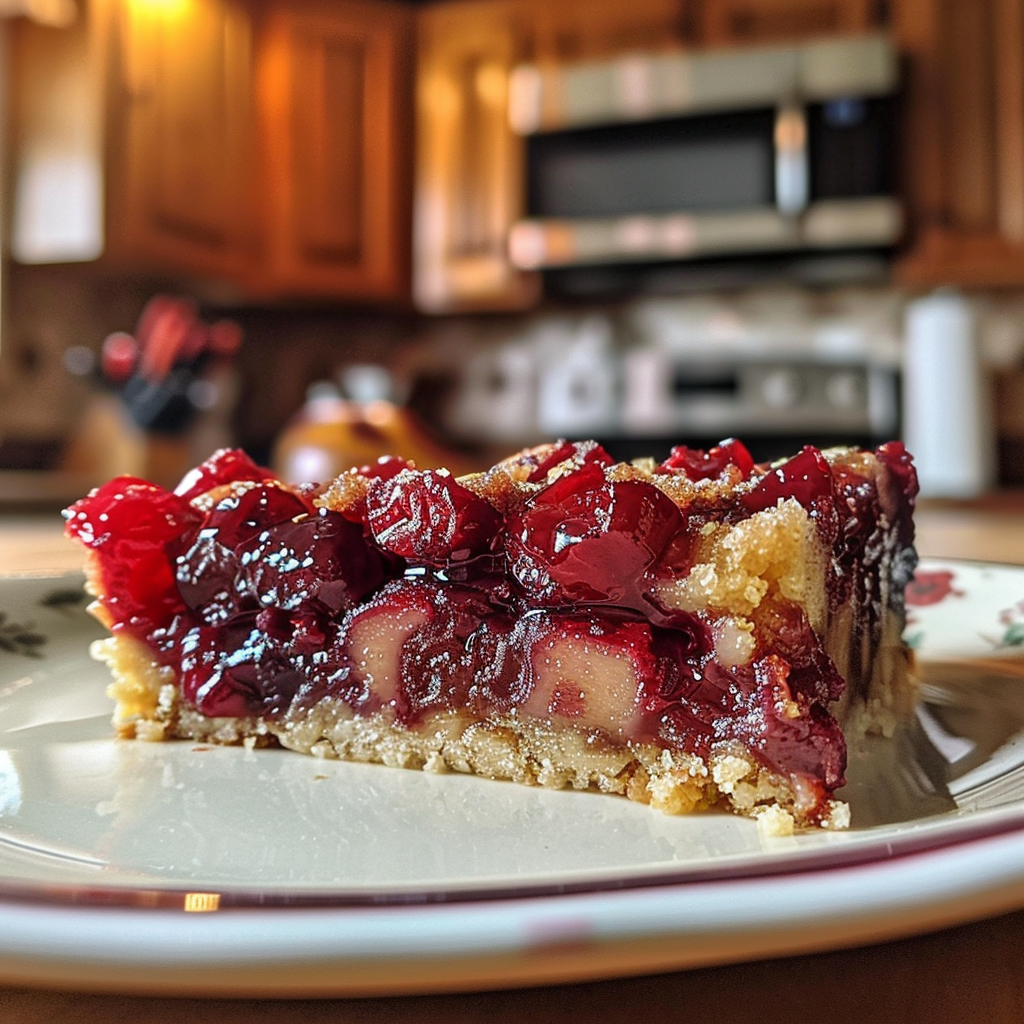
[info_box title=”You Must Know”] These Christmas Cherry Bars are the perfect festive treat; they combine tart cherries with a buttery crust, making them irresistible. The vibrant red color adds holiday cheer to any dessert table. Trust me, these bars will disappear faster than you can say “Merry Christmas!” [/info_box]
Perfecting the Cooking Process
Start by preheating your oven to 350°F (175°C). Prepare your pan by lining it with parchment paper for easy removal. Mix your crust and filling while the oven warms up, then bake until golden brown.
Add Your Touch
Feel free to swap out cherries for other fruits like blueberries or raspberries. Add nuts or chocolate chips for an extra layer of flavor. A sprinkle of powdered sugar on top makes them look even more festive!
Storing & Reheating
Store leftover Christmas Cherry Bars in an airtight container at room temperature for up to three days. If you need to reheat, pop them in the microwave for a few seconds or warm them in the oven at 300°F (150°C).
[info_box title=”Chef’s Helpful Tips”] Use fresh or frozen cherries for the best flavor; defrost frozen ones before use for even consistency. Let the bars cool completely before slicing to prevent messy edges. Experiment with spices like cinnamon or nutmeg to elevate the seasonal flavor profile. [/info_box]
These delightful bars remind me of the time my aunt attempted to make cherry pie but ended up creating a gooey masterpiece that became a family favorite. The best mistakes can lead to delicious surprises!
FAQ
Can I use canned cherries for Christmas Cherry Bars?
Yes, canned cherries work well; just drain and rinse them before using.
How do I know when my bars are done baking?
Look for a golden-brown crust and bubbling filling around the edges.
Can I freeze leftover Christmas Cherry Bars?
Absolutely! They freeze well for up to three months; just wrap securely before freezing.
Christmas Cherry Bars
- Total Time: 50 minutes
- Yield: Approximately 12 servings 1x
Description
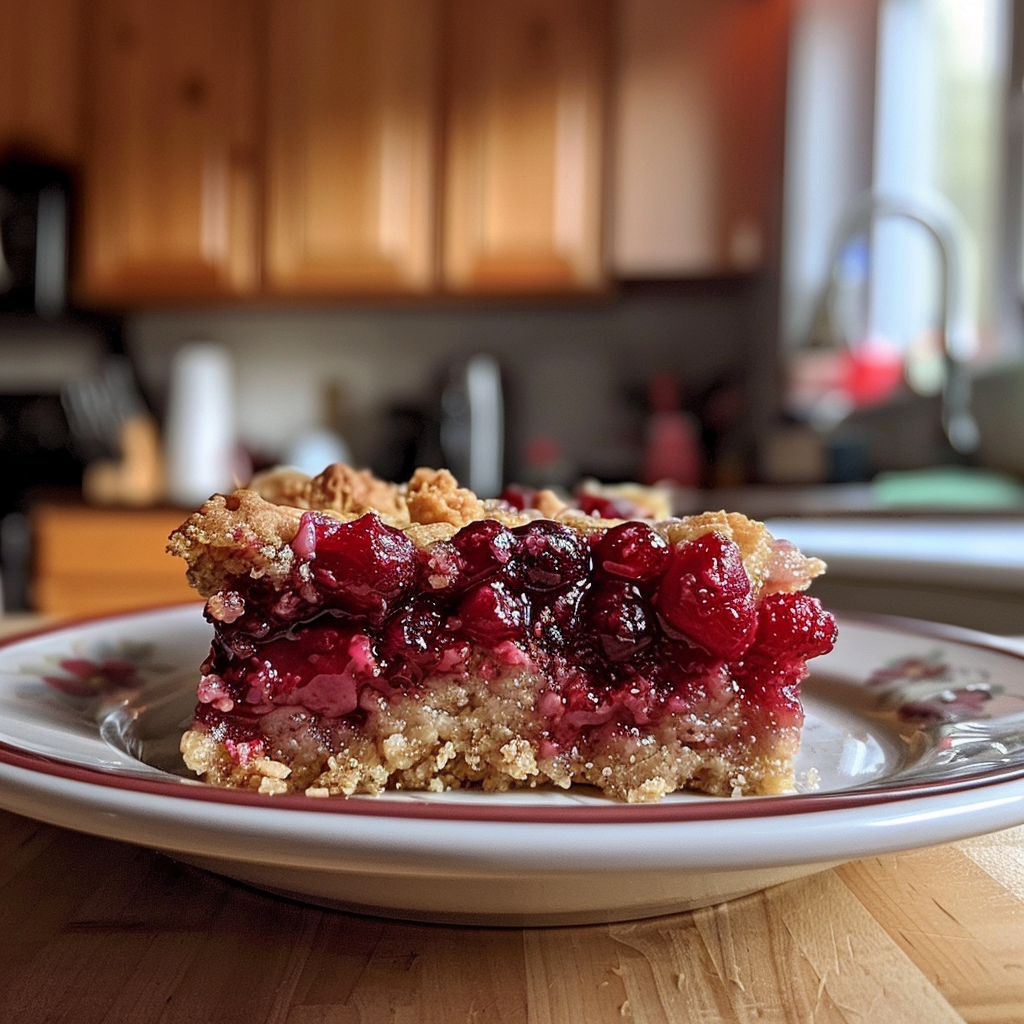
Experience the joy of the season with these Christmas Cherry Bars, featuring a buttery, golden crust and sweet-tart cherries that burst with flavor. Perfect for holiday gatherings, these bars are not only visually stunning but also easy to make, ensuring that your festive dessert table steals the show. Each chewy square offers a nostalgic taste of childhood holidays, making them ideal for sharing with family and friends.
Ingredients
- 1 ½ cups fresh or frozen cherries, pitted
- ½ cup unsalted butter, softened
- 1 cup granulated sugar
- 1 cup all-purpose flour
- 2 large eggs
- 1 tsp baking powder
- 1 tsp vanilla extract
- Powdered sugar (for dusting)
Instructions
- Preheat your oven to 350°F (175°C) and grease a 9×13 inch baking pan or line it with parchment paper.
- In a mixing bowl, cream together the softened butter and granulated sugar until light and fluffy.
- Add eggs one at a time along with the vanilla extract, mixing until smooth.
- In another bowl, whisk together flour and baking powder. Gradually combine dry ingredients into the wet mixture.
- Gently fold in the cherries to maintain their shape.
- Pour the batter into the prepared pan and bake for 30-35 minutes or until golden brown on top.
- Allow cooling before slicing; dust with powdered sugar if desired.
- Prep Time: 15 minutes
- Cook Time: 35 minutes
- Category: Dessert
- Method: Baking
- Cuisine: Holiday
Nutrition
- Serving Size: 1 bar (40g)
- Calories: 180
- Sugar: 15g
- Sodium: 80mg
- Fat: 8g
- Saturated Fat: 5g
- Unsaturated Fat: 2g
- Trans Fat: 0g
- Carbohydrates: 26g
- Fiber: 1g
- Protein: 2g
- Cholesterol: 30mg